Setting up environment #
- Installing Arduino IDE
- Adding ESP32-S3 to Arduino with Board Manager
Testing with Arduino Graphics Library Examples #
- Adding Arduino Graphics Library
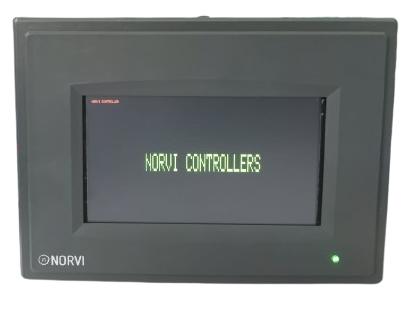
- Print “NORVI CONTROLLER“ on the HMI
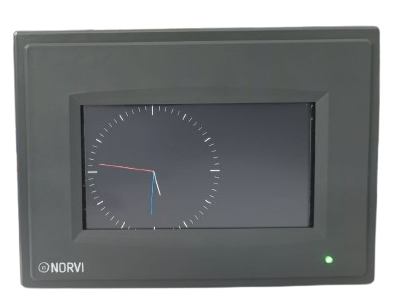
- Print the Clock Interface on the HMI

Setting up environment #
Installing Arduino IDE #
Go to the official website https://www.arduino.cc/ to download the Arduino IDE development tool, download the corresponding library file, install the tool, and click the start icon. Open as shown in the figure below,

Adding ESP32-S3 to Arduino with Board Manager #
Click on the File menu on the top menu bar and click the Preferences menu item. This will open a Preferences dialog box. Look for the textbox labeled “Additional Boards Manager URLs”. If there is already text in this box add a comma at the end of it, then follow the next step. Paste the following link into the text box and click the OK button to save the setting. https://raw.githubusercontent.com/espressif/arduino-esp32/gh-pages/package_esp32_index.json
note that esp32 board version should be 2.0.9.

The tool automatically downloads and updates the corresponding model, check the steps as shown in the figure below,

Note that esp32 board version should be 2.0.9 or below.

Once the installation is completed, select the correct board options for the “ESP32 Arduino” board. In the tools tab, on the board, choose “ESP32S3 Dev. Module”.

Choose the chip and settings according to the chip as shown below,

Testing with Arduino Graphics Library Examples #
Adding Arduino Graphics Library #
Open the library manager in Arduino, search for Arduino_GFX, and click install.

Connect the HMI and computer through a USB mini data cable. Click on the tool on the Arduino software and select the corresponding serial port number.
After compiling, click “upload” to upload the program to the NORVI ESP32 HMI.

Compile and upload the first example program to print “NORVI CONTROLLER “on the HMI interface. #

Compile and upload the second example program to print the Clock Interface on the HMI interface. #


