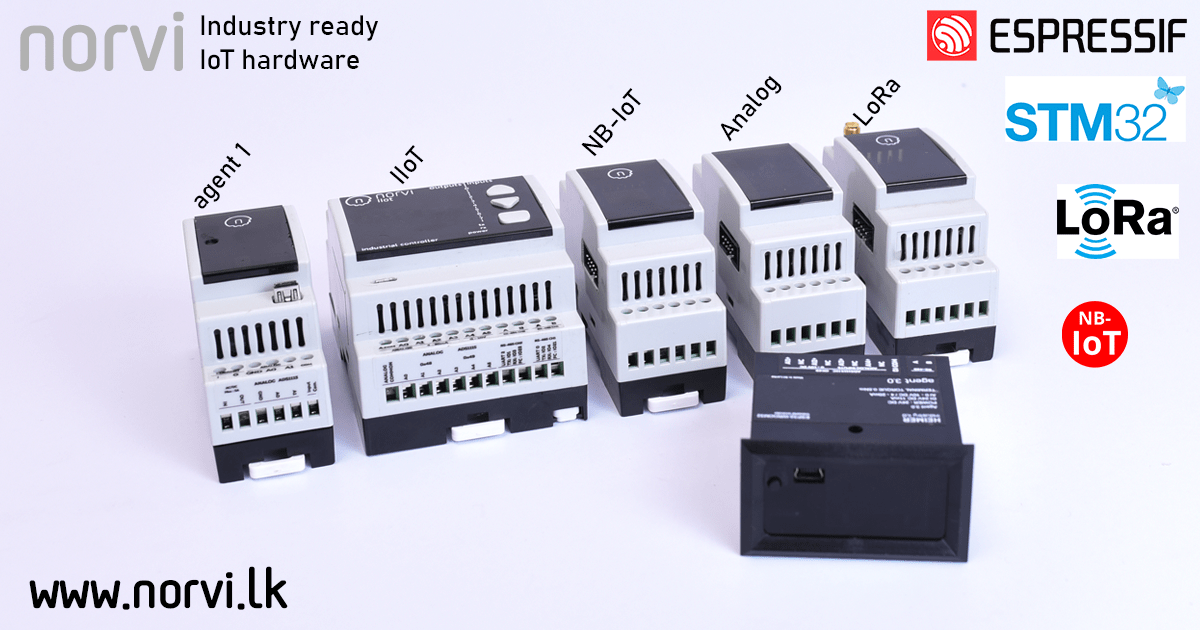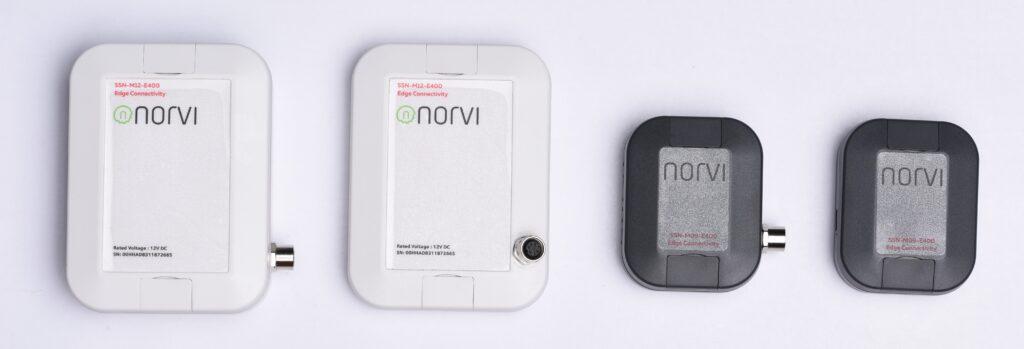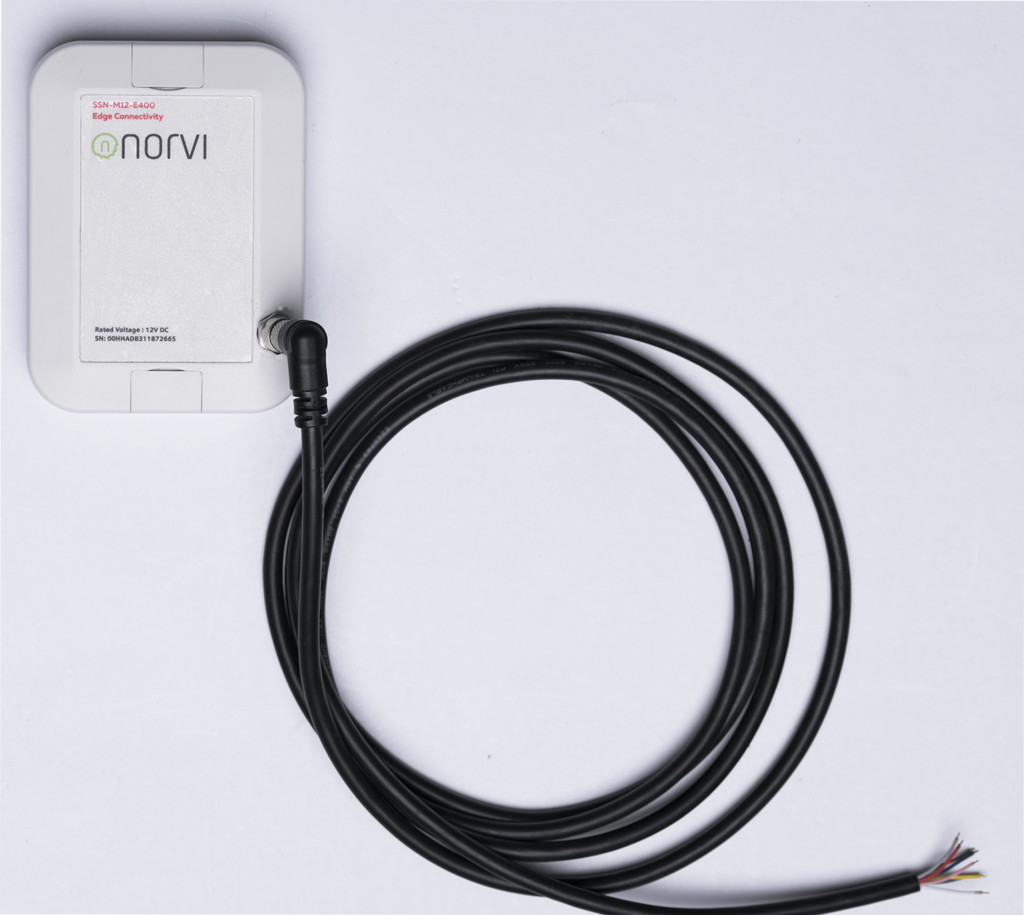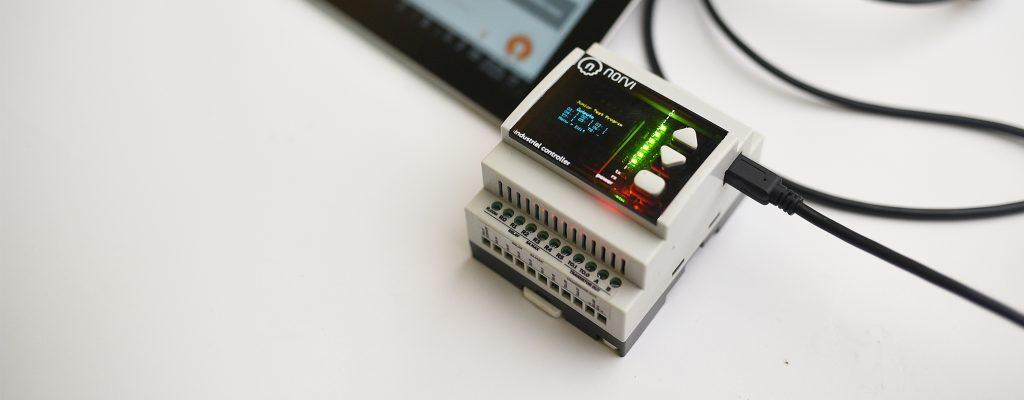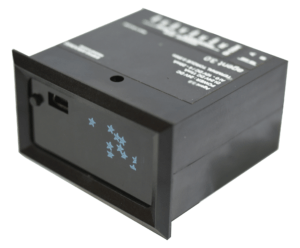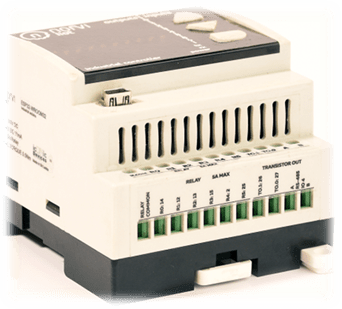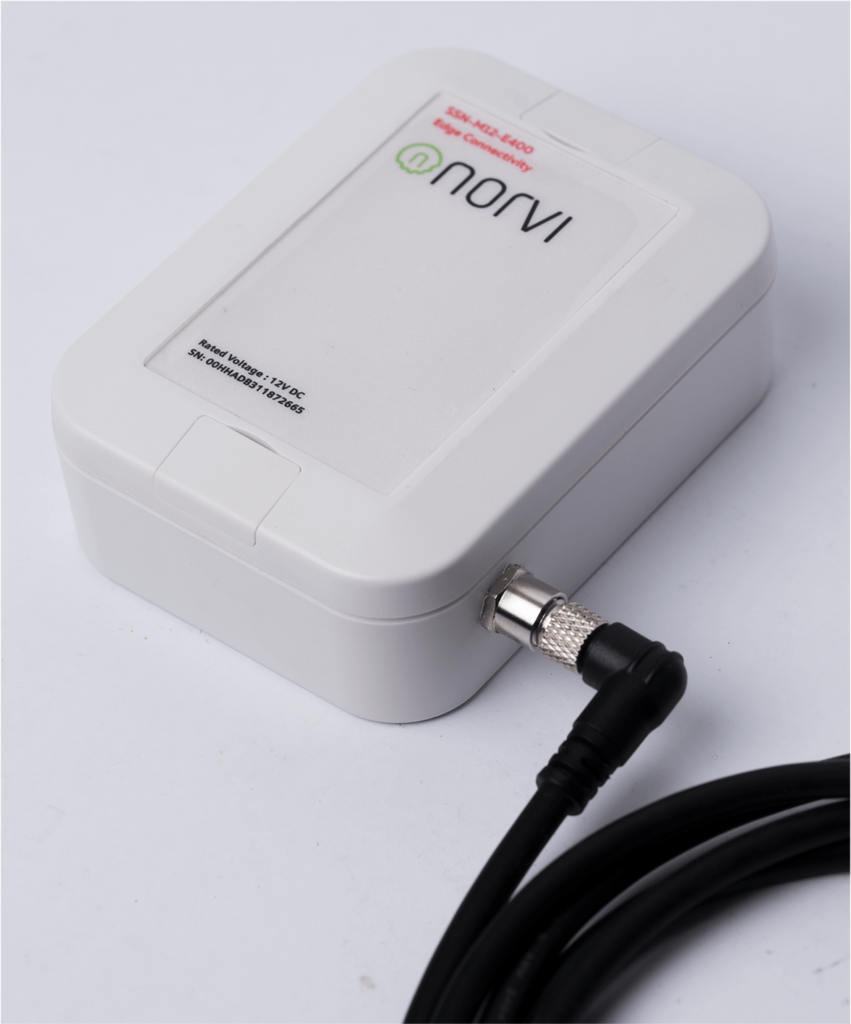
Wall mountable IoT devices are famous for their ability to function as standalone devices in industrial environments with less human intervention. Norvi SSN devices are such devices made for automation and IoT applications focused on monitoring sensor values or parameters from external devices.These devices also can be mounted on the poles.
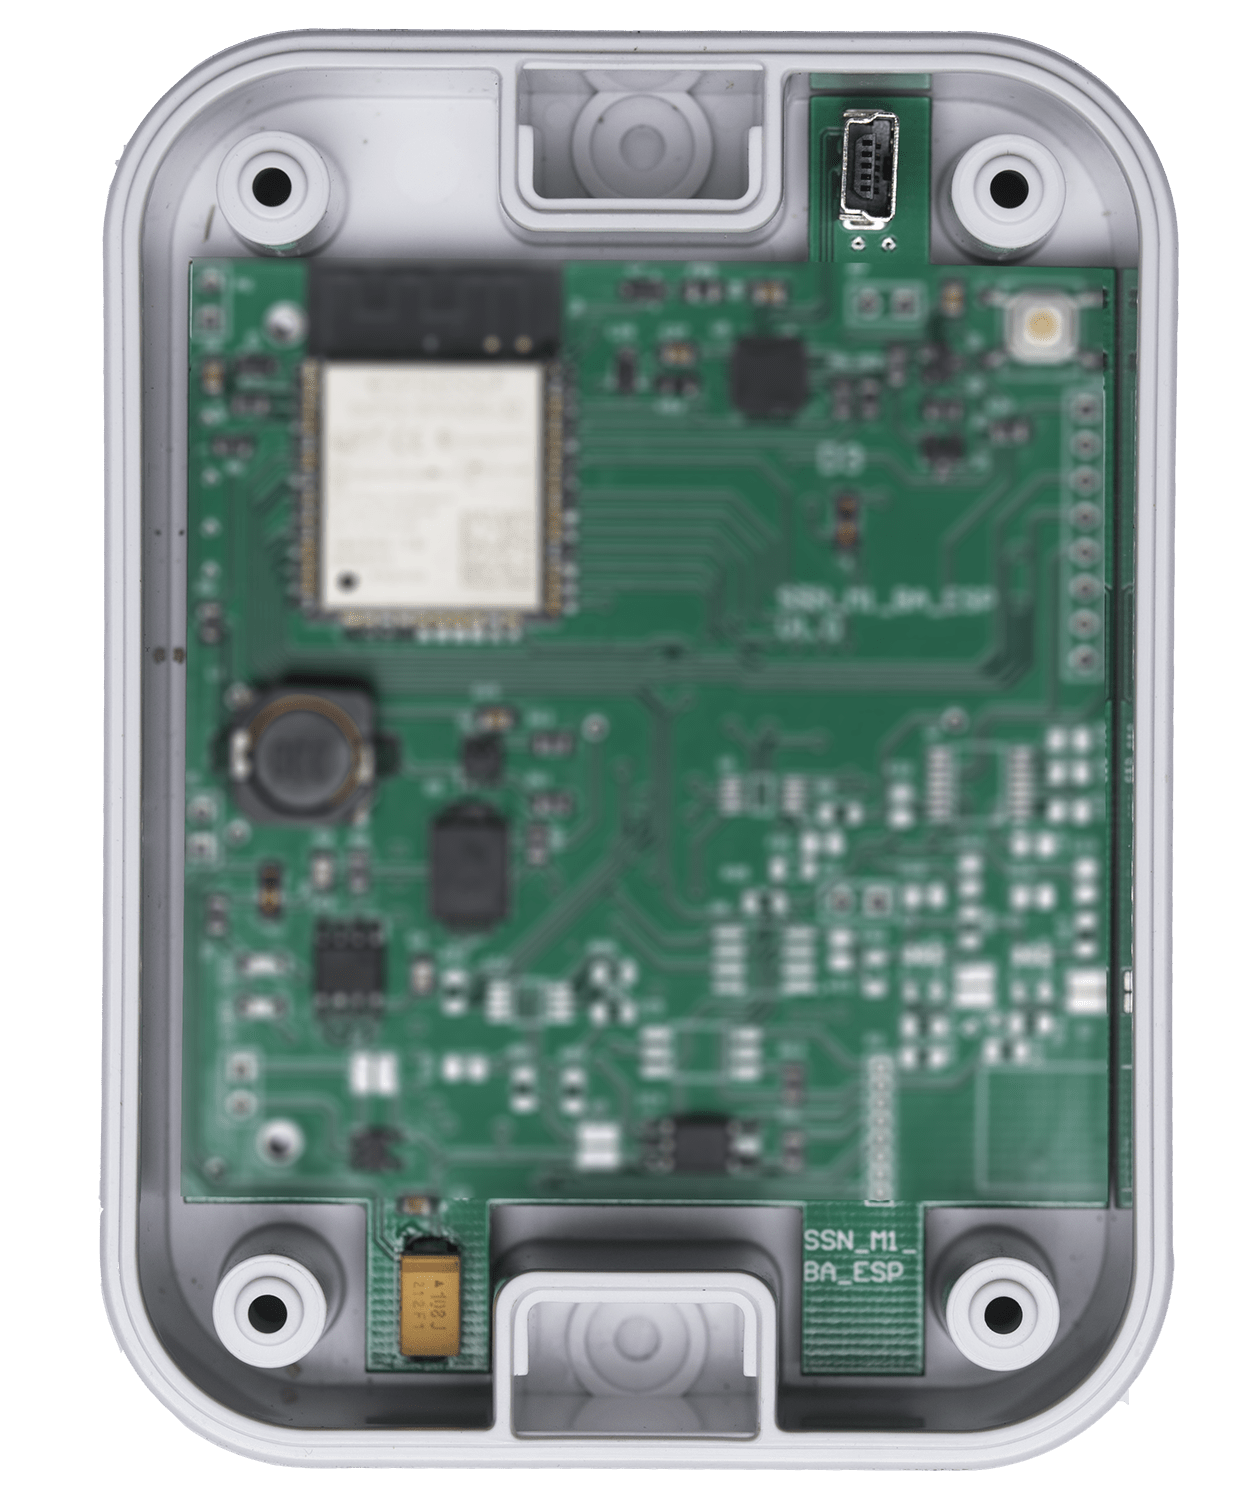
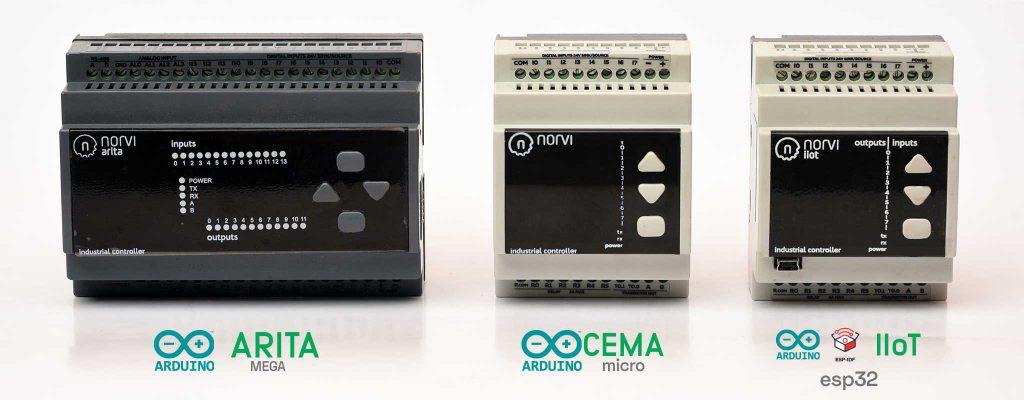
The underlying wireless sensor technology in Norvi’s wall mount IoT nodes enables data collation with minimized manual effort. The nodes are embedded with ESP32 chips and are capable of delivering sink and source switchable inputs.
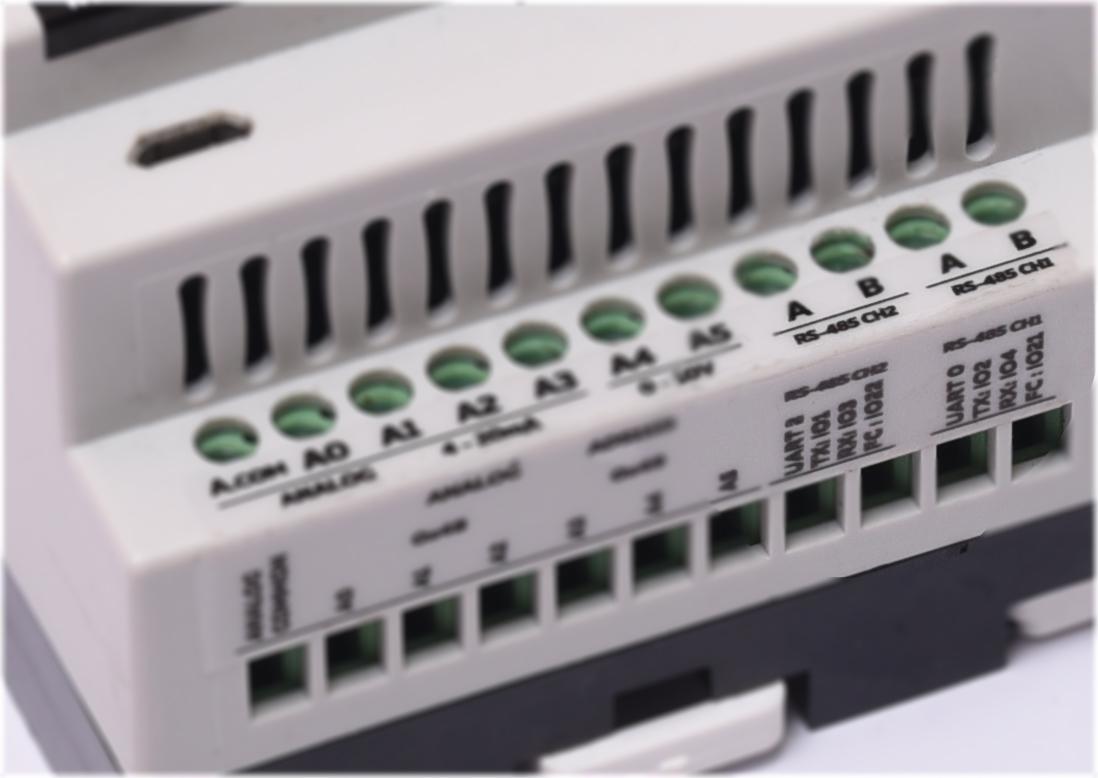
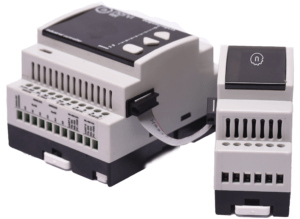
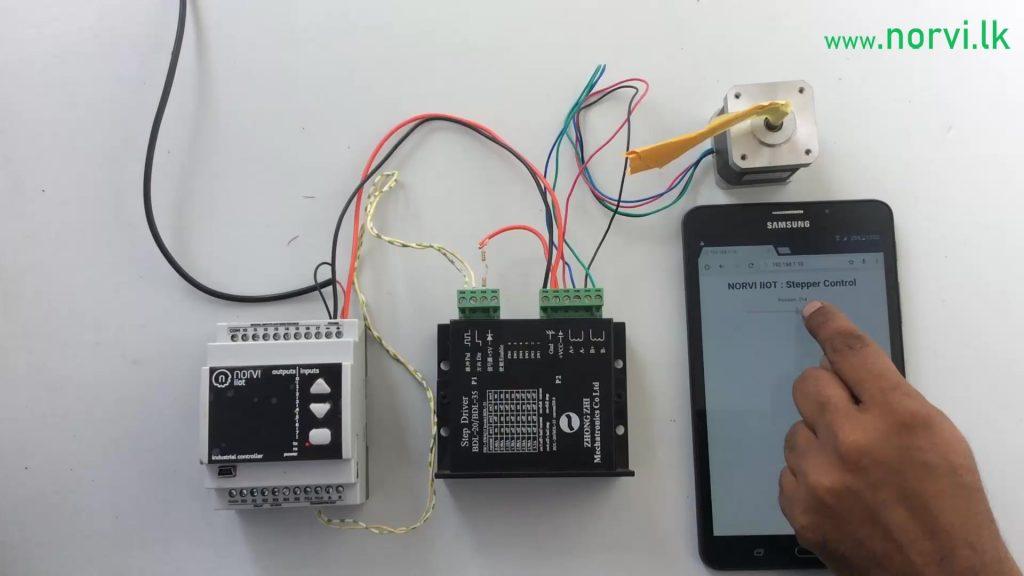
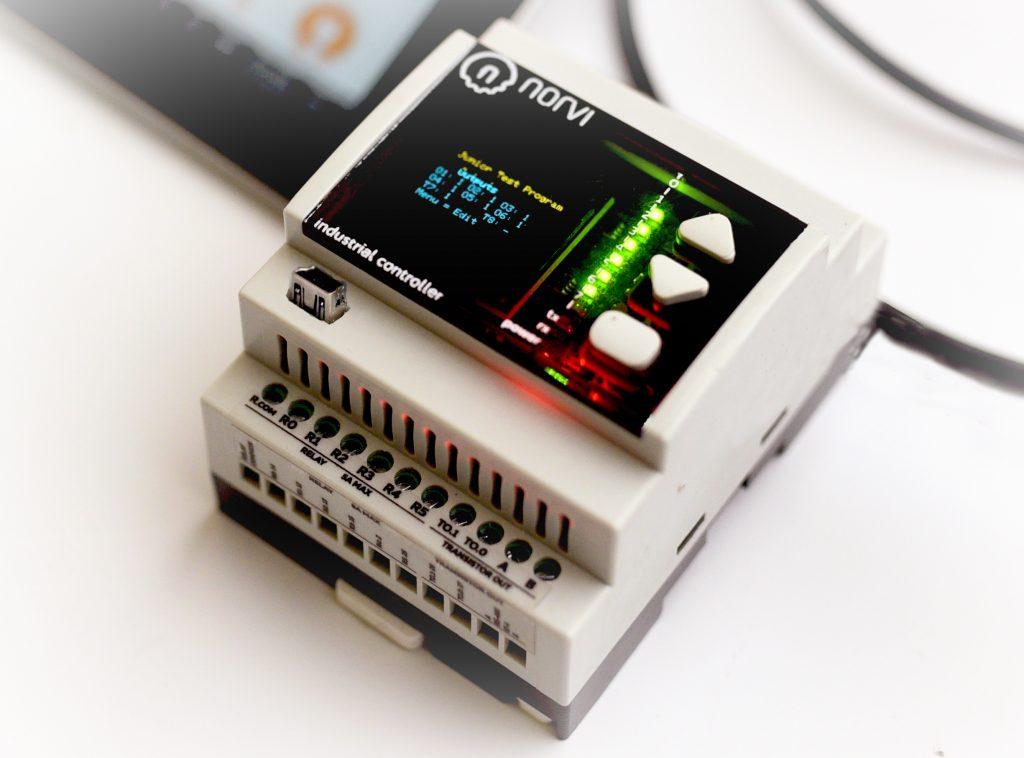
The sensor nodes come in different I/0 configurations, offering flexible combinations. These wi-fi enabled sensor nodes are easier to configure and program.The devices come equipped with isolated digital inputs for added protection and this helps to eliminate potential threats from harmful data sources.
Norvi’s wall mountable IoT devices offer analog inputs for industrial applications. The model which supports 4-20mA analog inputs are for electronic signaling. The node can carry sensor information, as well as control signals, to the valve or other process modulating devices.
The 0-10V model on the other hand, is a more straightforward method of transmitting analog signals. These models are recommended solely, if the underlying automation device is incapable of handling higher range signals, like 4-20mA signals.
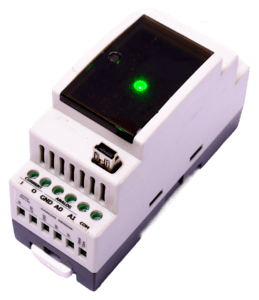
These wall mountable devices withstand extreme climates and the industrial environment conditions. They are durable as well as shock-resistant and can also perform at higher altitudes.
To know more about the Norvi SSN lineup – www.norvi.lk