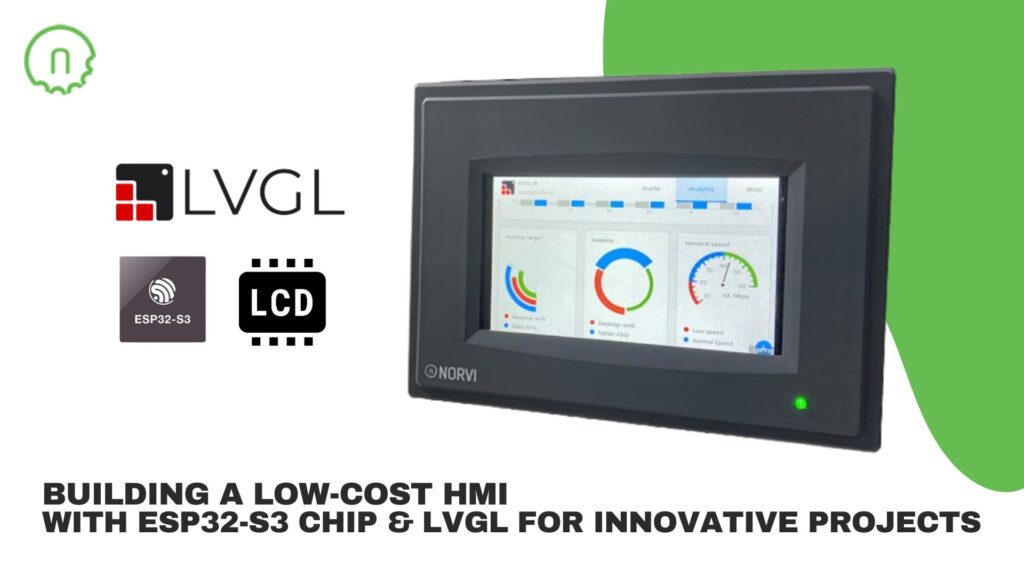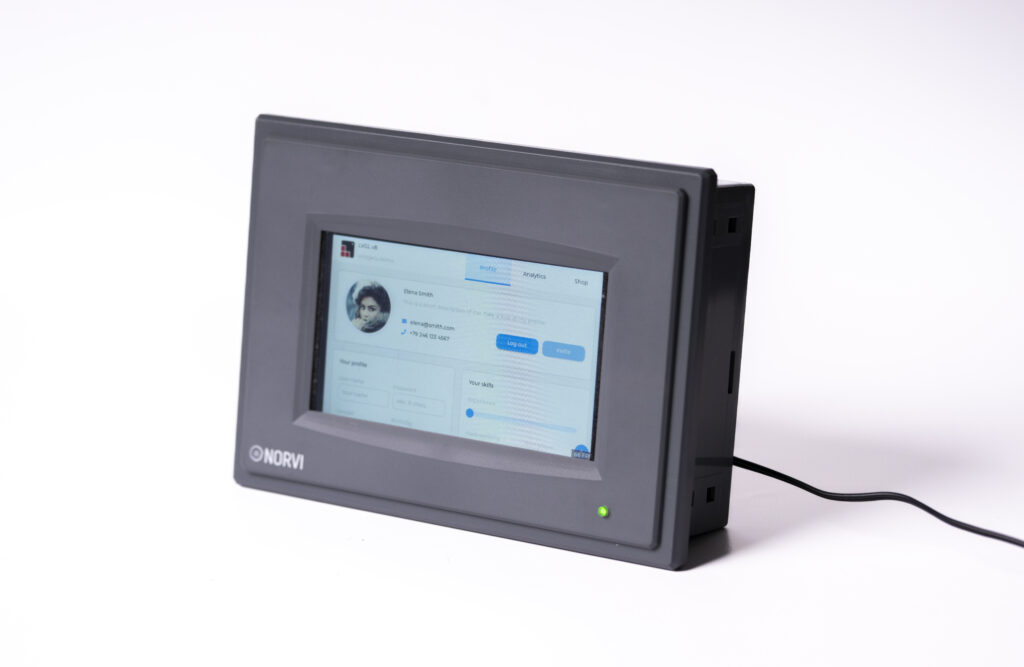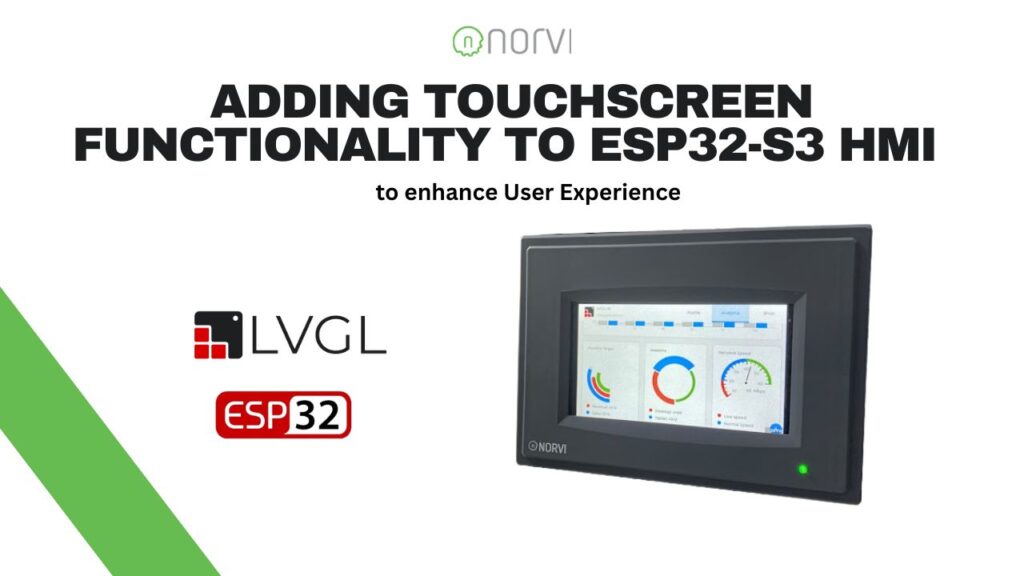
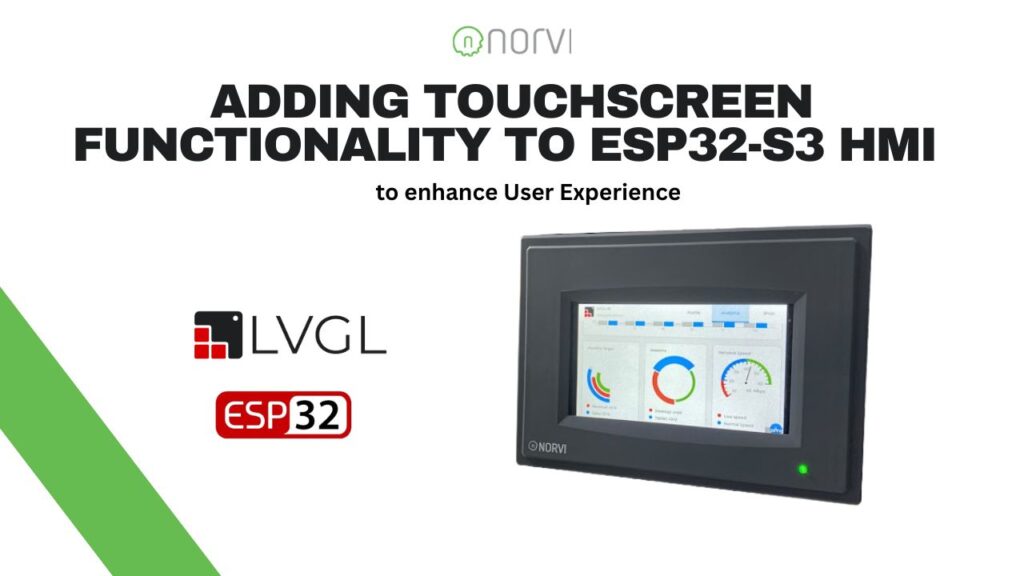
ESP32 NORVI HMI is a powerful HMI resistive touch screen with an 800*480 resolution LCD display. It uses the ESP32-S3-WROOM-1-N4R8 module as the main control processor, with a dual-core 32-bit microprocessor, integrated WiFi and Bluetooth wireless functions, a main frequency of up to 240MHz, providing powerful performance and versatile applications, suitable for IoT application devices and other scenes. Let’s see how advanced Touchscreen Functionality works with ESP32 HMI.
The module includes a 5.0-inch LCD display and a driver board. The display screen uses resistive touch technology. It supports a development environment such as Arduino IDE and is compatible with the LVGL graphics library. This enables developers to customize their UI interfaces and create interesting projects quickly and easily, greatly shortening the development cycle.
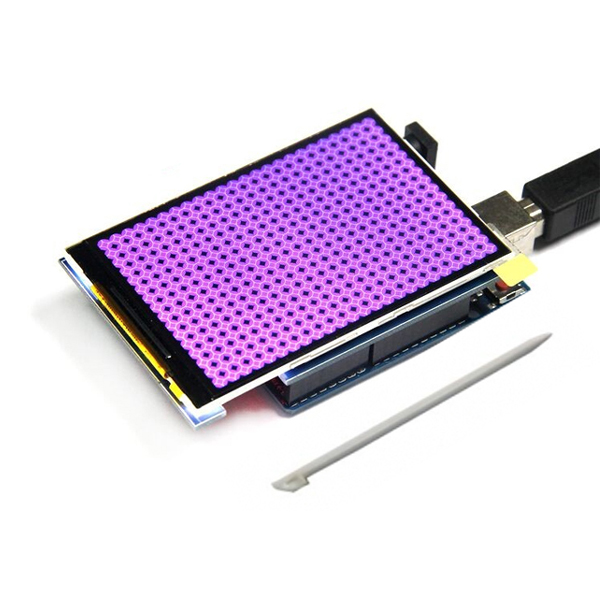
A 5-inch resistive touch display is a touchscreen technology with a layered structure, comprising a flexible top layer and a rigid bottom layer separated by insulating dots. When pressure is applied, these layers make contact at specific points, and touch input is detected by measuring changes in voltage. Some common features of the touch panel are,
- Accuracy and Pressure Sensitivity: Resistive touchscreens provide accurate touch input by detecting the precise point of contact.
- Cost-Effectiveness: Resistive touch panels are cost-effective to produce, making them a popular choice for budget-friendly displays.
- Versatility and Compatibility: Compatible with various input methods, resistive touchscreens can be operated with any object that applies pressure.
- Calibration Requirements: Periodic calibration may be necessary to maintain accurate touch response.
To add the Touchscreen Functionality to an ESP32-S3 HMI, it will need to use a combination of the ESP32-S3 microcontroller, a suitable Touch library, and the LVGL graphics library. Below are the general steps to add these functionalities:
- Set Up Development Environment:
Install Arduino IDE on PC.
Integrate ESP32 board support in Arduino IDE.
Install required libraries for ESP32, touch, and LVGL.
The Touch library may need to use a library that is compatible with the specific 5-inch resistive touch.
- Include Libraries in Arduino Sketch:
Include the required libraries at the beginning of the Arduino sketch:
#include <XPT2046_Touchscreen.h>
#include <lvgl.h>
- Initialize Touch parameters:
- Initialize the set points
The touch screen set points are configured through an example code provided by a touch library. By executing the code and interacting with the four sides of the display, the corresponding values are displayed in the serial monitor. This process enables the determination of touchscreen set points based on the user’s input and observation of the serial output.
#define TOUCH_MAP_X1 270
#define TOUCH_MAP_X2 3800
#define TOUCH_MAP_Y1 3600
#define TOUCH_MAP_Y2 330
- Variables touch_last_x and touch_last_y store the last touched coordinates.
int touch_last_x = 0, touch_last_y = 0;
#if defined(TOUCH_XPT2046)
XPT2046_Touchscreen ts(TOUCH_XPT2046_CS, TOUCH_XPT2046_INT);
- Touch Initialization Function.
void touch_init() {
#if defined(TOUCH_XPT2046)
SPI.begin(TOUCH_XPT2046_SCK, TOUCH_XPT2046_MISO, TOUCH_XPT2046_MOSI, TOUCH_XPT2046_CS);
ts.begin();
ts.setRotation(TOUCH_XPT2046_ROTATION);
- Check for Touch Signal.
bool touch_has_signal() {
#if defined(TOUCH_XPT2046)
return ts.tirqTouched();
- Check if Touched
bool touch_touched() {
#if defined(TOUCH_XPT2046)
if (ts.touched()) {
TS_Point p = ts.getPoint();
- Check if Touch Released.
bool touch_released(){
if defined(TOUCH_XPT2046)
return true;
Example
This touch code provides an abstraction layer for the touch library, allowing the user to easily understand. The code includes initialization, event handling, and functions to check if the screen is touched or released.
If buttonXMin, buttonXMax, buttonYMin, and buttonYMax represent the borders or boundaries of the region on the touch screen corresponding to the position of the button. let’s see how to configure a button, and set its action.
#include <XPT2046_Touchscreen.h>
#define TOUCH_CS 10 // Example pin for touch CS
XPT2046_Touchscreen ts(TOUCH_CS);
#define BUTTON_PIN 7 // Example pin for the button
void setup() {
Serial.begin(9600);
ts.begin();
pinMode(BUTTON_PIN, INPUT);
}
void loop() {
// Read touch input
TS_Point p = ts.getPoint();
// Check if the touch screen is touched
if (p.z > MINPRESSURE && p.z < MAXPRESSURE) {
// Process touch input (e.g., map coordinates, perform actions)
int mappedX = map(p.x, TS_MINX, TS_MAXX, 0, 800); // Adjust based on display size
int mappedY = map(p.y, TS_MINY, TS_MAXY, 0, 480); // Adjust based on display size
Serial.print(“Touched at X: “);
Serial.print(mappedX);
Serial.print(“, Y: “);
Serial.println(mappedY);
// Check if the touch is in the region of the button
if (mappedX > buttonXMin && mappedX < buttonXMax && mappedY > buttonYMin && mappedY < buttonYMax) {
// Button is pressed, perform action
Serial.println(“Button Pressed!”);
// Add button action here
}
}
}
Hope you get the way of adding Touchscreen Functionality to ESP32-S3 HMI.
Check-out the ESP32-S3 HMI or, contact us at s[email protected]

